


Relief printing is a printmaking technique where artists carve an image into a surface, leaving the raised areas to hold the ink. When they press paper onto the inked surface, it transfers the design to the paper, creating a bold and detailed print. Artists and businesses widely use this method because it allows them to produce multiple identical prints while preserving intricate details.
Relief printing is one of the oldest printing methods, dating back to ancient times. Artists and printmakers have used it in various forms, from traditional woodcuts to modern linocuts and letterpress printing. They value the process for its ability to create sharp contrasts and detailed textures, making it a popular choice.
The technique requires a combination of creativity and skill. The artist must carefully carve the design, ensuring that only the intended areas hold ink. With the right tools, materials, and practice,
relief printing can produce stunning, high-quality prints that stand the test of time.
Check: Why do you think intaglio printing was so commonly used, despite its difficulty?
History and Evolution of Relief Printing
Relief printing dates back to ancient civilizations. The Chinese developed woodblock printing around 220 AD, which later spread to Japan and Europe. During the Renaissance, artists extensively used woodcuts in book illustrations. The invention of the letterpress by Johannes Gutenberg in the 15th century revolutionized printing, making books widely available. Over the centuries, relief printing has evolved, incorporating new materials and techniques while maintaining its traditional charm. Artists and specialty printers still use it today.
Types of Relief Printing
There are several types of relief printing, each offering unique artistic possibilities.
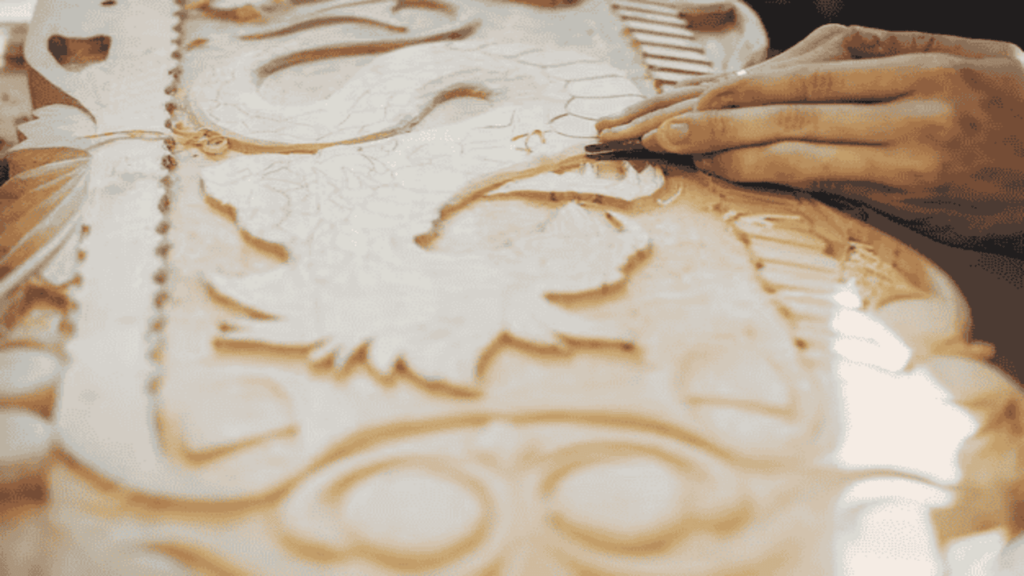
Woodcut Printing
Woodcut is the oldest form of relief printing. Artists carve designs into rubber, apply ink, and press the stamp onto paper or other materials. This method serves decorative and commercial applications. The type of wood used affects the final print, with softer woods being easier to carve and harder woods allowing for finer details. Woodcut printing requires patience and steady hands to carve intricate designs.
Linocut Printing
Linocut printing is similar to woodcut but uses a linoleum block instead of wood. Linoleum is softer and easier to carve, making it ideal for beginners. This method allows for smooth and detailed prints with a modern aesthetic. Since linoleum lacks the grain of wood, it enables artists to create cleaner, more fluid lines. Linocut is often used in contemporary printmaking due to its versatility and accessibility.
Letterpress Printing
Letterpress printing involves raised metal type or plates to print text and images. Printers widely used this method for printing books, newspapers, and invitations before digital printing became dominant. Today, people value letterpress for its tactile and elegant appearance.It creates a deep impression on the paper, giving printed materials a luxurious feel. Many designers and printmakers use letterpress for wedding invitations, business cards, and high-end stationery.
Rubber Stamp Printing
Rubber stamps are a simple and effective form of relief printing.Artists carve designs into rubber, apply ink, and press the stamp onto paper or other materials. This method serves decorative and commercial applications.Businesses use rubber stamps for branding, while crafters and artists use them for making handmade cards, scrapbooks, and art prints. The flexibility of rubber allows for intricate designs with minimal effort.
Collagraph Printing
In collagraph printing, artists build a textured surface using materials like cardboard, fabric, and glue. They ink the raised areas and print them, creating highly textured and abstract prints.This method allows artists to experiment with textures and create unique effects. Unlike traditional relief printing, artists can make collagraph plates from found materials, making this technique eco-friendly and cost-effective.
Essential Tools and Materials for Relief Printing
To create a high-quality relief print, you need the right tools and materials. Here are the most commonly used ones:
Carving Tools
Artists use carving tools, such as gouges and knives, to cut and shape the surface of wood, linoleum, or rubber blocks.Different blade sizes allow for fine details and bold cuts. Sharp tools ensure cleaner cuts and prevent accidents. Investing in high-quality carving tools can make a significant difference in the quality of your prints.
Brayers
A brayer is a small hand roller used to spread ink evenly over the carved block. It ensures consistent ink application and prevents blotchy prints. Brayers come in different sizes and hardness levels, allowing artists to control ink distribution. Proper inking is crucial for achieving sharp and well-defined prints.
Ink
Relief printing inks are either oil-based or water-based. Oil-based inks produce rich, long-lasting prints, while water-based inks dry faster and are easier to clean. Choosing the right ink depends on the desired finish and printing process. Some artists prefer water-based inks for their ease of use, while others favor oil-based inks for their depth of color.
Printing Press or Hand Tools
A printing press applies even pressure to transfer the inked design onto paper. If a press is unavailable, a baren or wooden spoon can be used to press the paper by hand. Using a press ensures uniform prints, but hand-printing techniques allow for more variation and artistic control. Experimenting with different methods can lead to unique print effects.
Baren
A baren is a handheld tool that artists use to press paper onto an inked block, ensuring full ink transfer. Artists commonly use it in woodcut and linocut printing. Bamboo traditionally makes up barens, but manufacturers also produce modern versions in plastic or metal.Using a baren properly ensures even pressure and a clean transfer of ink.
High-Quality Paper
Choosing the right paper is crucial for achieving crisp prints. Thick, absorbent papers like handmade or printmaking paper work best for relief printing. Some papers have a smooth surface, while others have texture, affecting the final print. Testing different papers can help determine the best option for a particular project.
Bench Hook
A bench hook is a safety tool that holds the block steady while carving, preventing injuries and improving precision. It also helps artists maintain control over their work, reducing mistakes. A stable work surface is essential for safe and accurate carving.
Step-by-Step Process of Relief Printing
Follow these steps to create a high-quality relief print:
Step 1:
Select Your Printing Surface
Choose wood, linoleum, or rubber as your printing surface. Beginners may find linoleum easier to carve. The material you choose will affect the final texture and look of the print.
Step 2:
Sketch Your Design
Draw your design directly on the block or transfer it using tracing paper. Keep in mind that the print will be a mirror image of the carving. Planning the design carefully ensures better results.
Step 3:
Carve the Block
Use carving tools to remove the areas that will not be printed. The raised portions will hold the white ink and create the final image. Work slowly to avoid mistakes.
Step 4:
Ink the Block
Roll a thin, even layer of ink onto the block using a brayer. Ensure the ink is evenly distributed across the raised surface. Proper inking is key to a successful print.
Step 5:
Transfer the Print
Place a sheet of paper over the inked block. Use a printing press or apply pressure manually with a baren to transfer the ink onto the paper. Consistent pressure ensures even prints.
Step 6:
Reveal the Print
Carefully lift the paper to reveal the print. Let it dry completely before handling or framing. Avoid smudging by letting prints dry on a clean surface.
Step 7:
Clean and Maintain Your Tools
Clean your carving tools, brayer, and block after each use to extend their lifespan and maintain quality prints. Proper maintenance ensures tools remain sharp and effective.
Conclusion: The Beauty of Relief Printing
Relief printing is a timeless and versatile printmaking technique that allows artists to create bold and expressive prints. Whether you are a beginner or an experienced printmaker, mastering this method opens the door to endless creative possibilities. With the right tools, materials, and practice, you can produce stunning relief prints that stand the test of time. This artistic process continues to inspire generations, proving that traditional printmaking techniques remain relevant in the modern world.